

|
|
|
|
 |

|
 |
BMW Garage | BMW Meets | Register | Today's Posts | Search |
 |

|
BMW 3-Series (E90 E92) Forum
>
iaknown's Exhaust System Review
|
 |
| 08-08-2016, 08:57 PM | #1 |
|
COAL FED
74
Rep 300
Posts |
iaknown's Exhaust System Review
Let’s start this off right... BOOM!
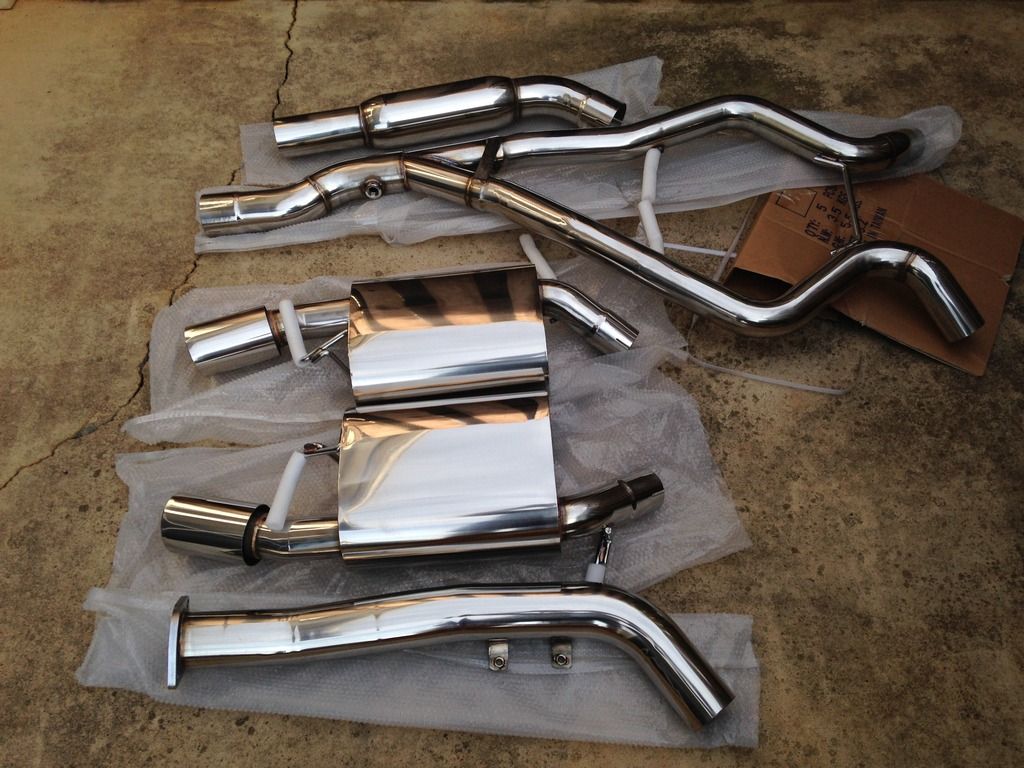 Background I'm sure many of you are aware that Dave (iaknown) has been working on developing a complete exhaust system for the 335d. This system has been in the works for over a year now and they are finally available for purchase! You can see the full thread of the history behind this exhaust here: http://www.e90post.com/forums/showthread.php?t=1150607 I highly advise you read through the whole thing to get the entire picture. The idea behind this was to develop an exhaust system specifically for the diesel e90. No other system existed at the time this thread/effort began and all of those who had an exhaust either had a modified 335i exhaust to fit the diesel, or a completely custom exhaust made, or are running gutted OEM exhaust because they didn't have any other options. Well now there is a complete (read downpipe included if requested) turbo back exhaust system available for our cars which has been thoroughly fitted and tested. I am one of the first people to have this exhaust and I can't give Dave enough thanks. He organized this as a side project outside of his regular life duties and worked with an overseas exhaust manufacturer to fit and tweak this exhaust over many months. Pictures The day it arrived!!! My son was also excited to receive the exhaust system! He was really hoping it would go on his BMW Radio Flyer! 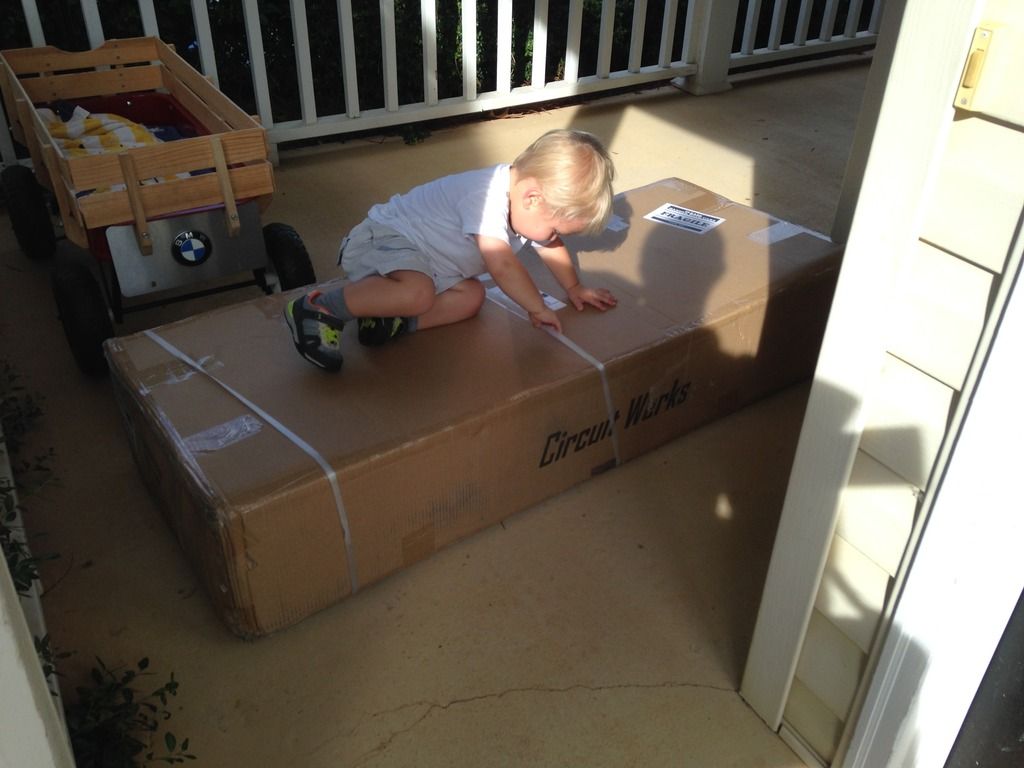 Unboxing. All parts came wrapped in bubble wrap and secured with cardboard to ensure no damage in transit. The filler material made sure no parts moved around. 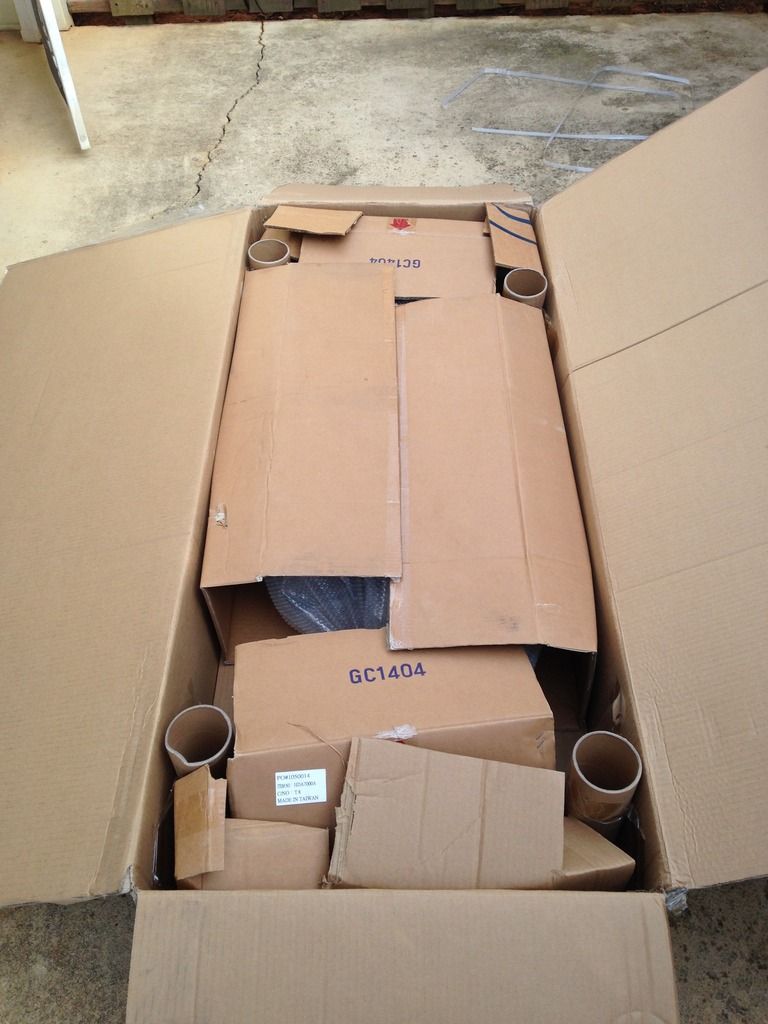 More unboxing... 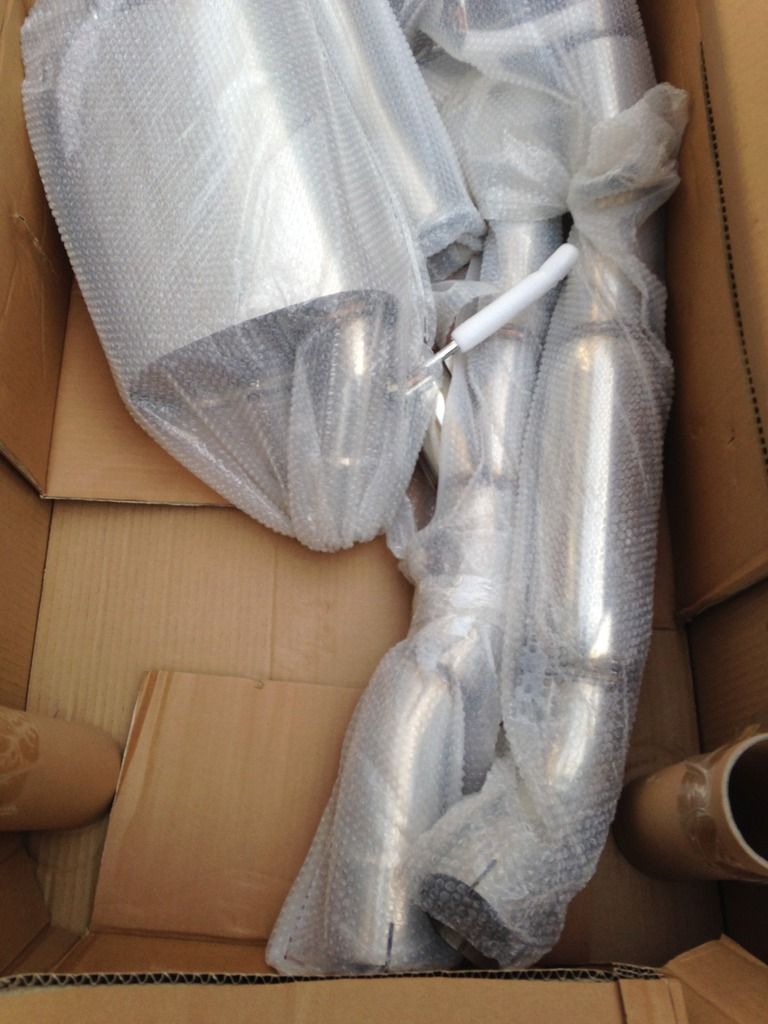 And more unboxing... 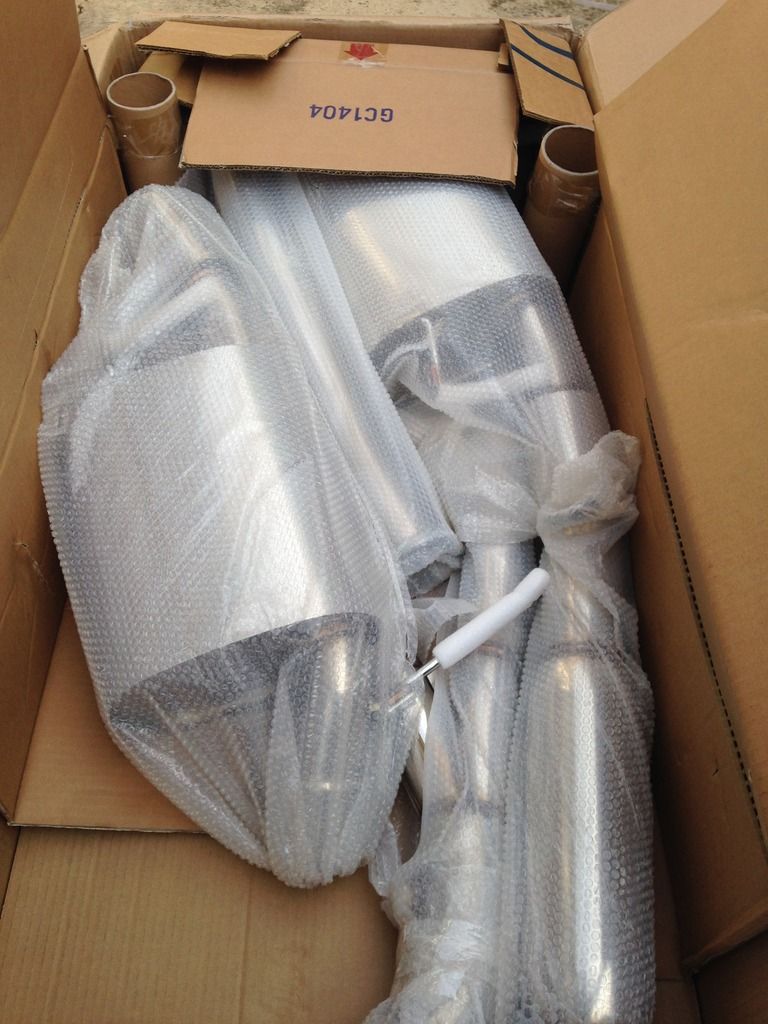 I had to get my Bohl Diesel Performance downpipe out of the closet after it sat there for 1 year! I chose to wait for this exhaust system instead of doing a custom fit 335i or gutted OEM unit and I’m glad I did! 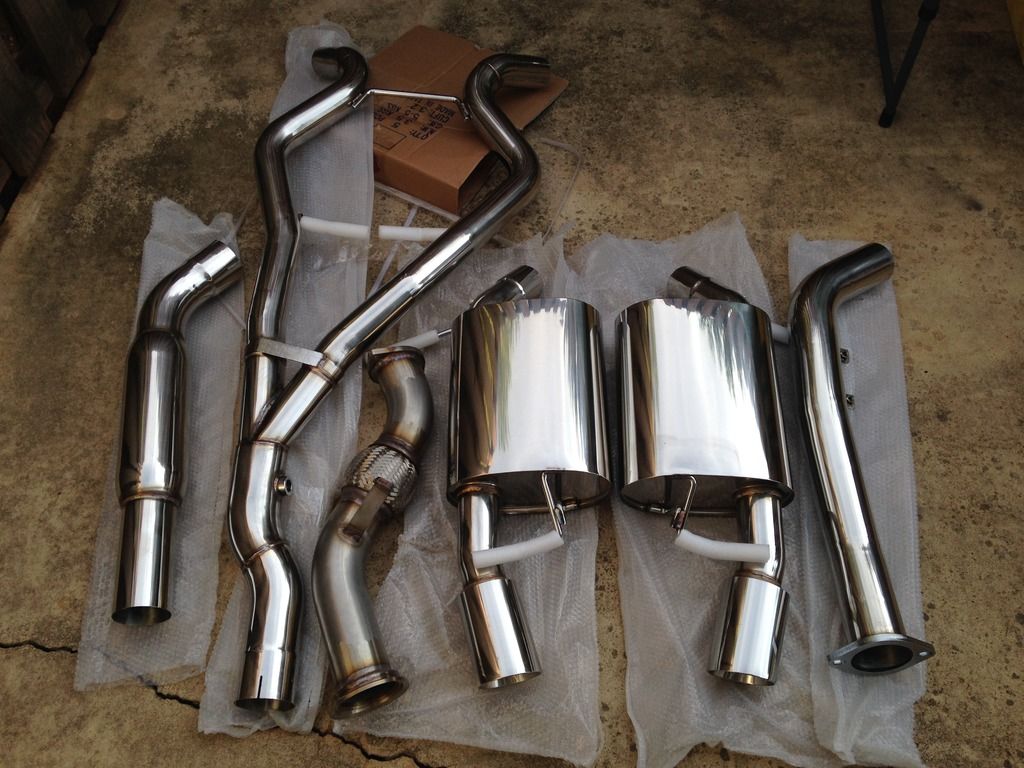 My Bohl DP I've been admiring for so long 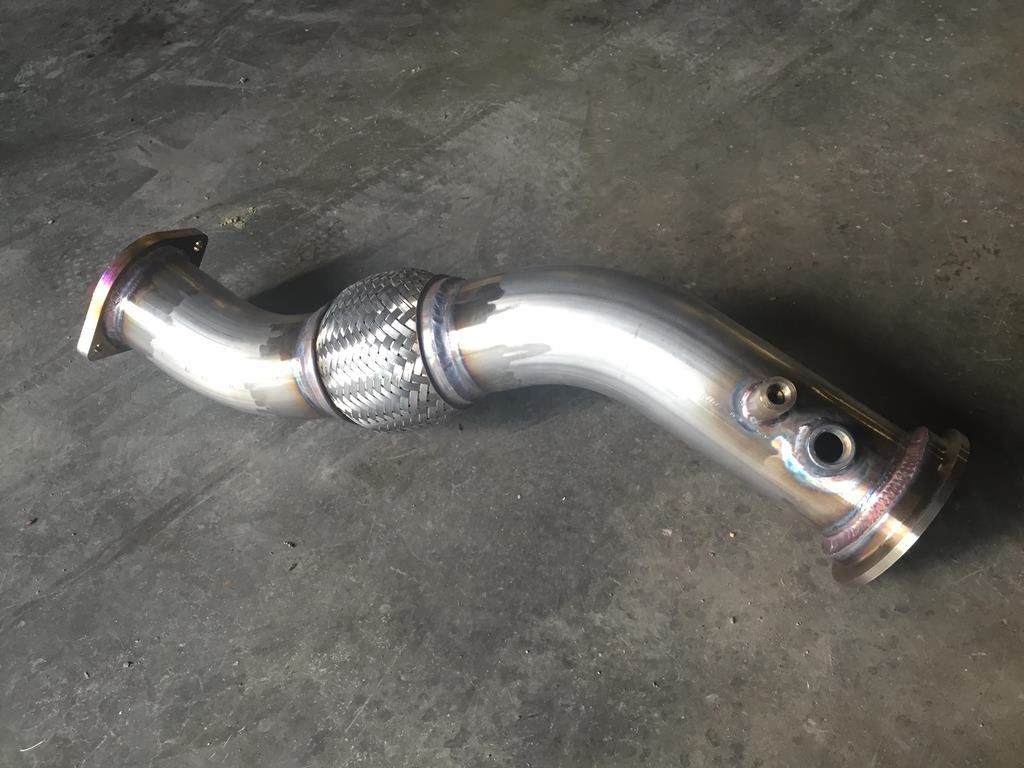      Laid out everything on the bed prior to taking parts to the garage because new girlfriend  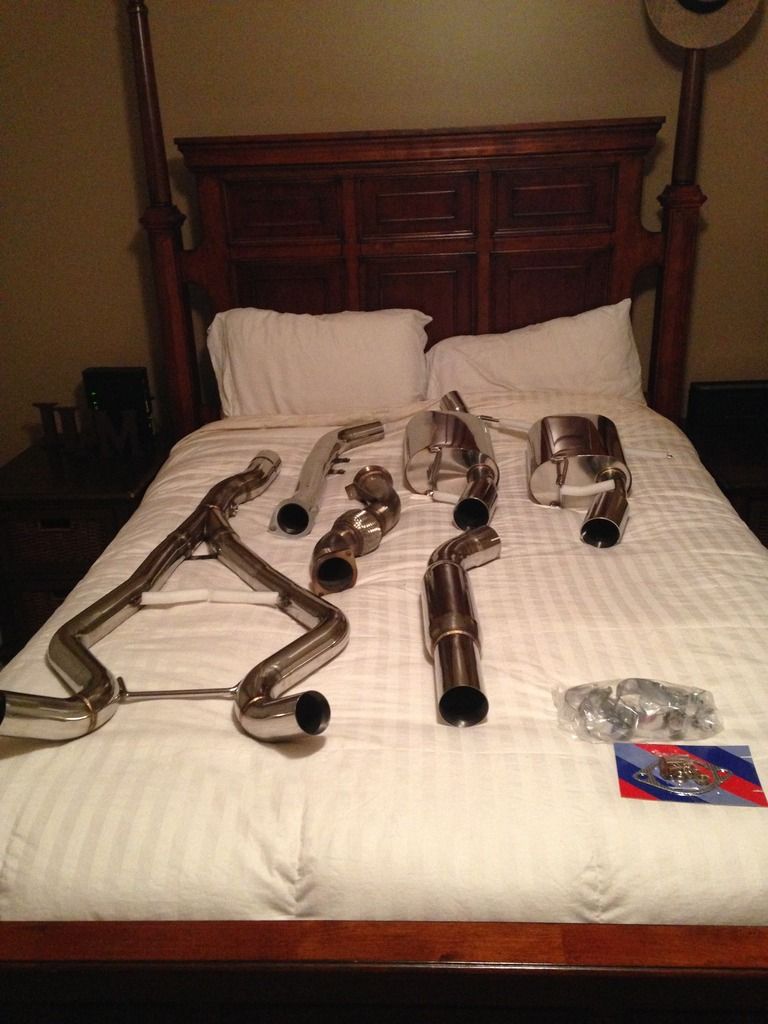 Transporting to the garage (in the HPDE M3) 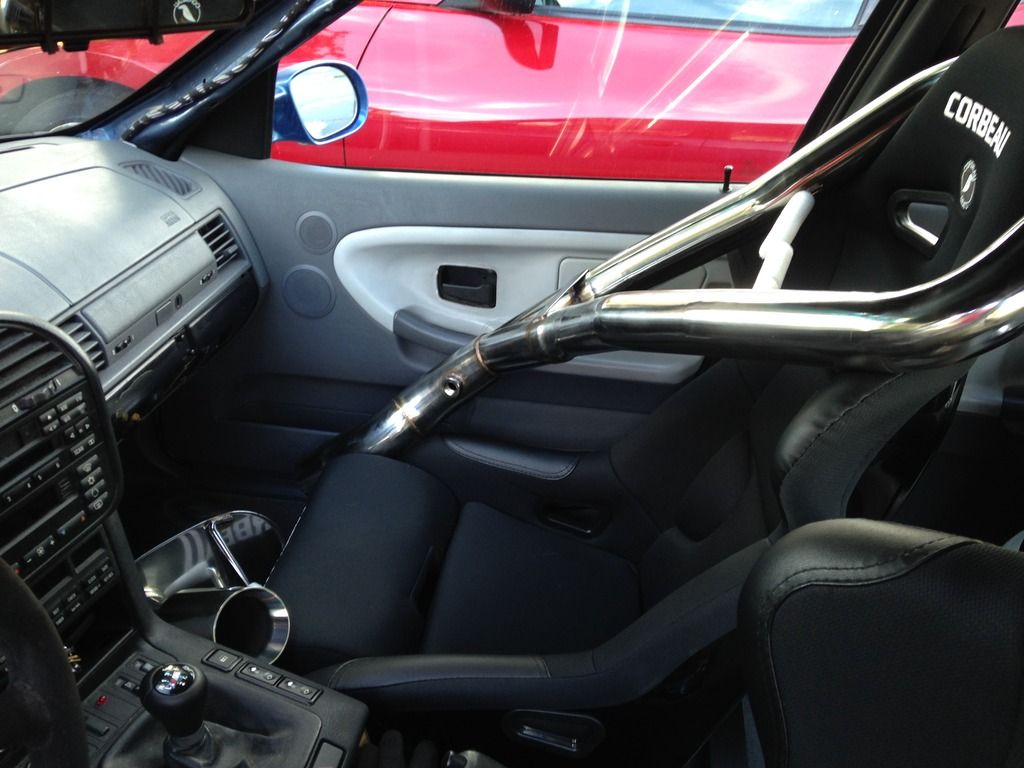 My boy loves riding in the “racecar“ and so does Bohl’s DP... 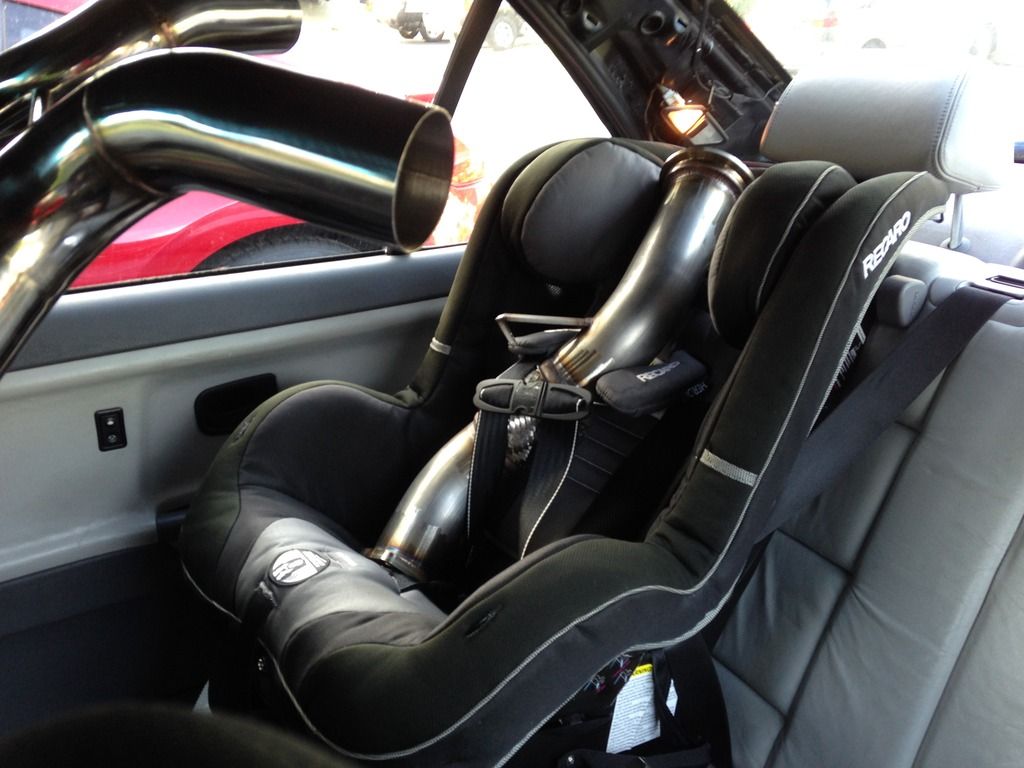 Muffler all seat belted in. 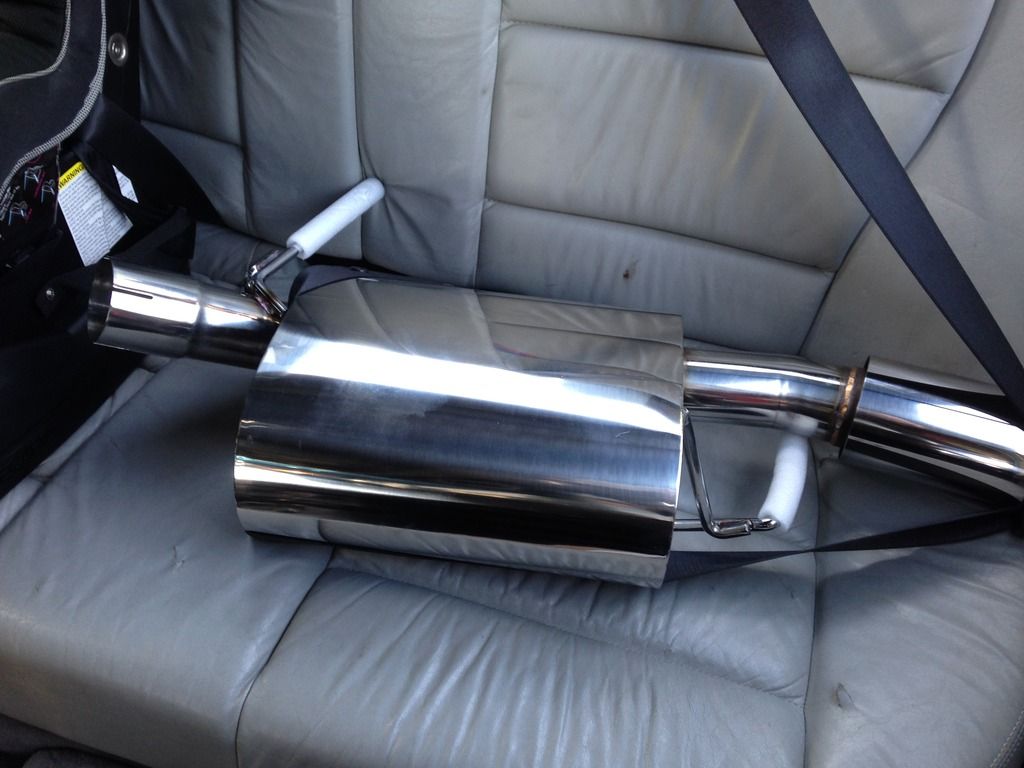 More pipes in the trunk!!! 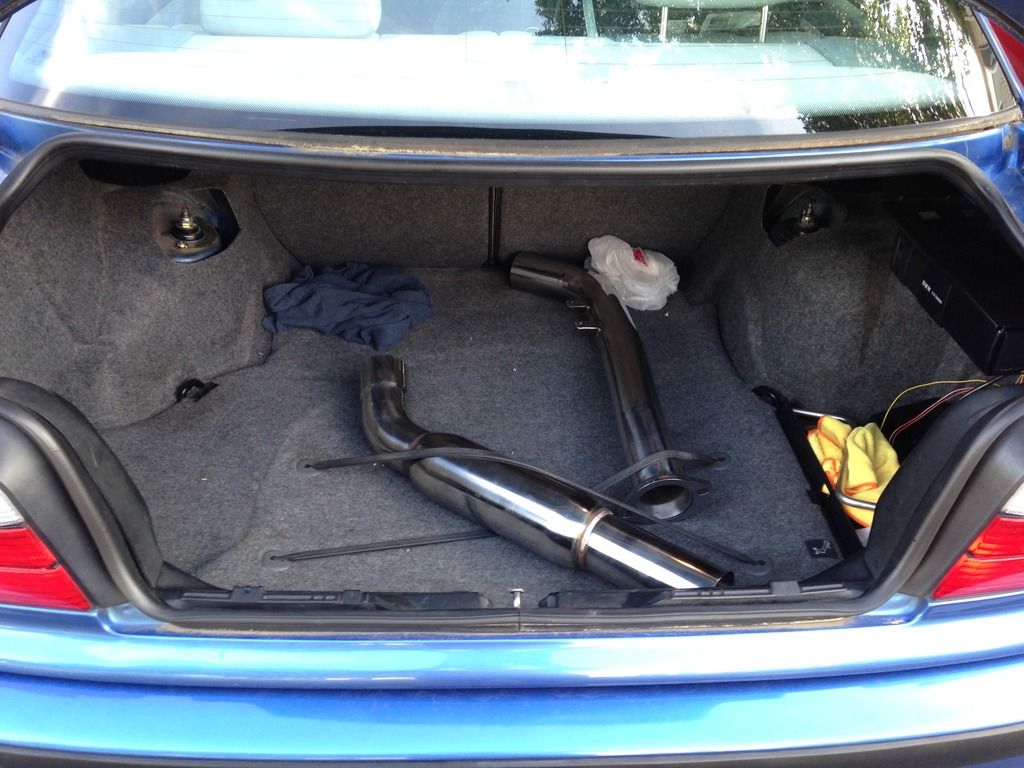 New exhaust sitting on top of old with shop towels keeping the dirt away from my polished pipes! 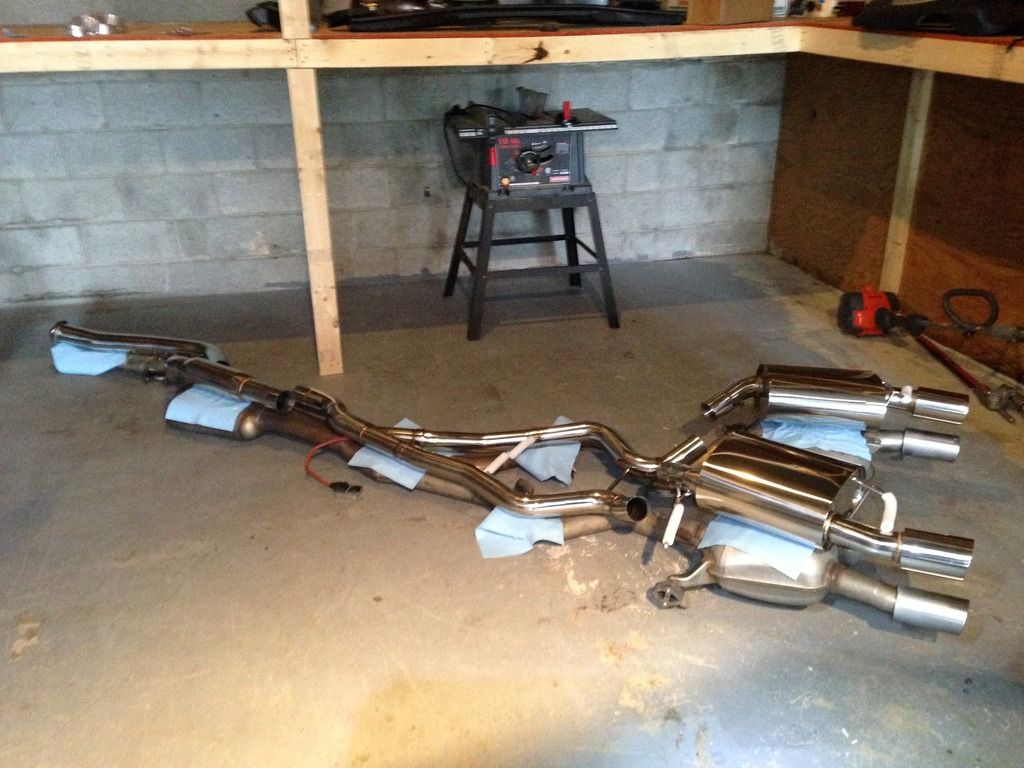 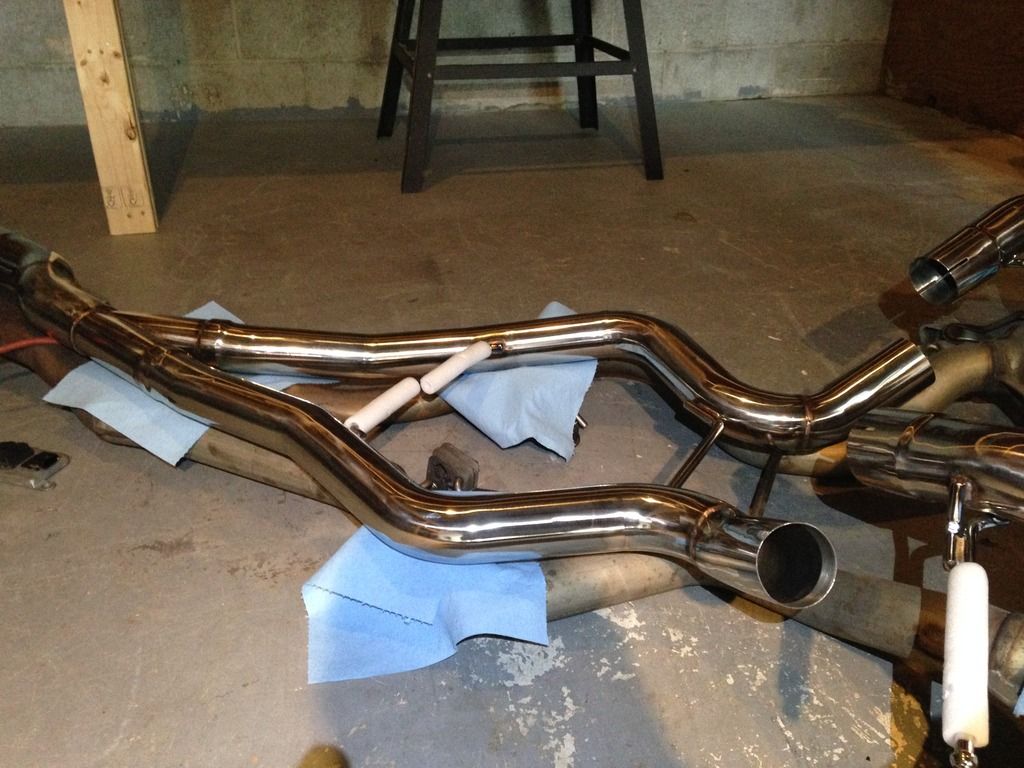 Factory mounting points for perfect alignment. 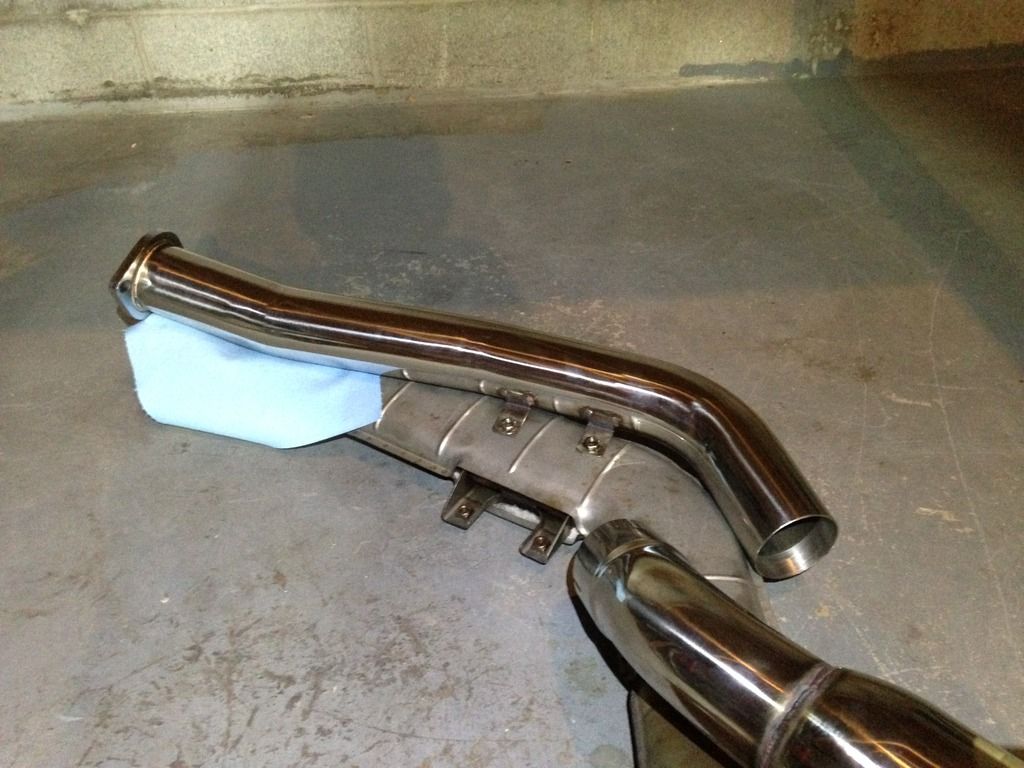 Beautiful TIG welds on the muffler   Nice polished dual wall angled tips 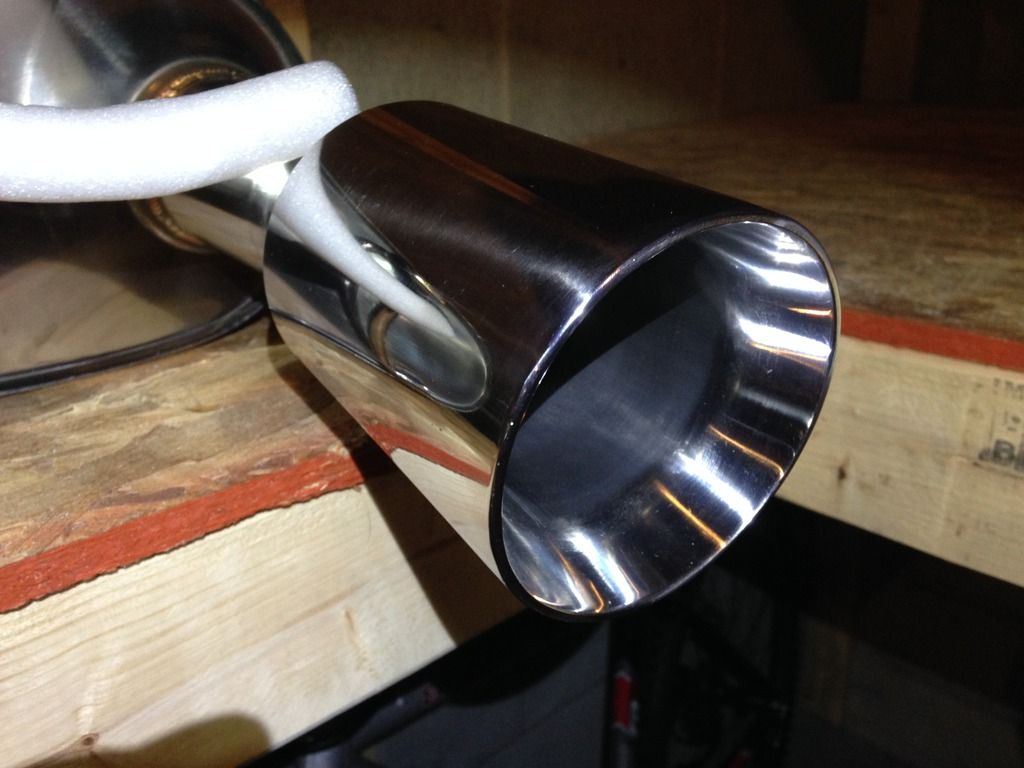 NOx sensor bung 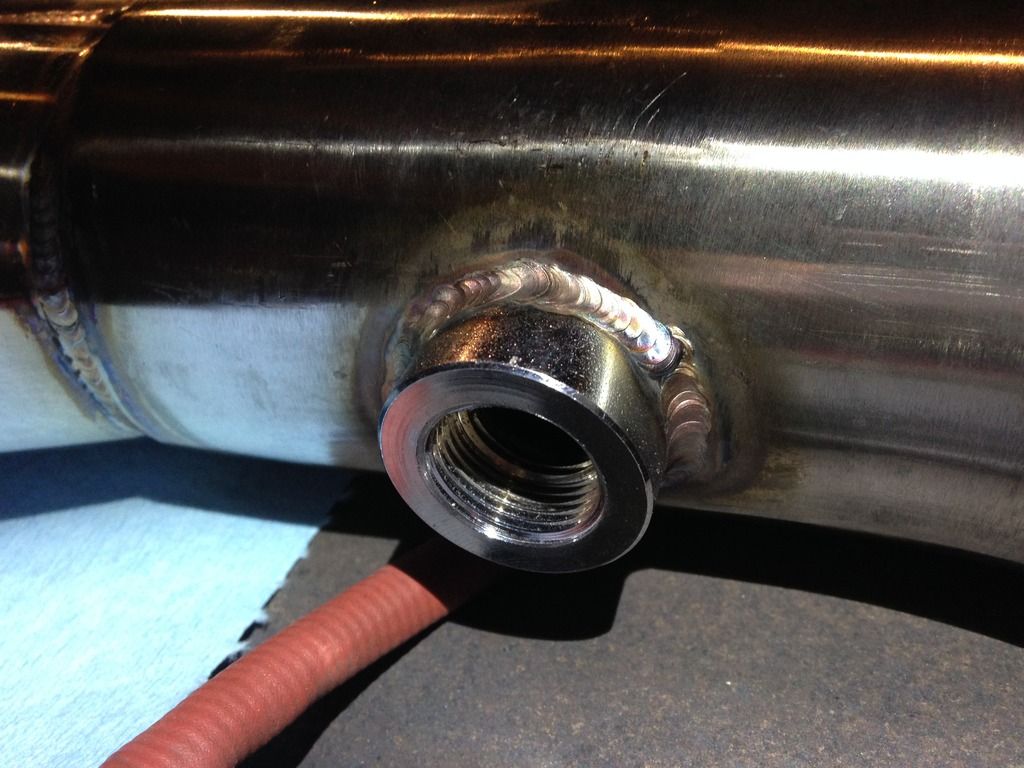 Y-split... more TIG beauty 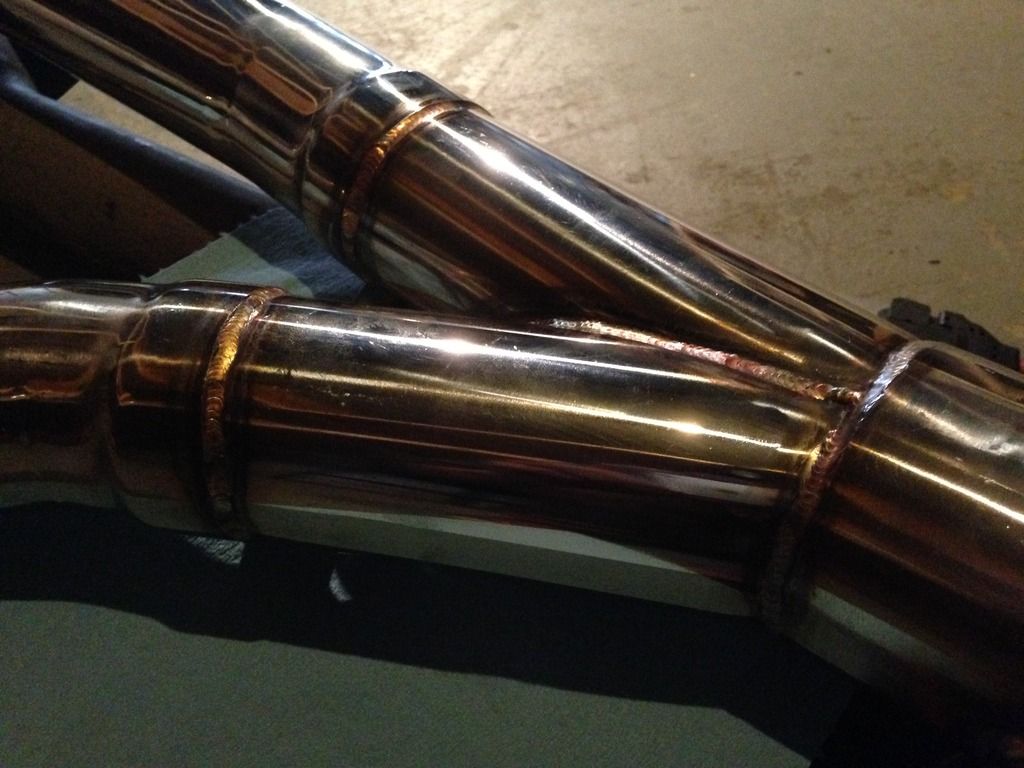 Mufflers hung first 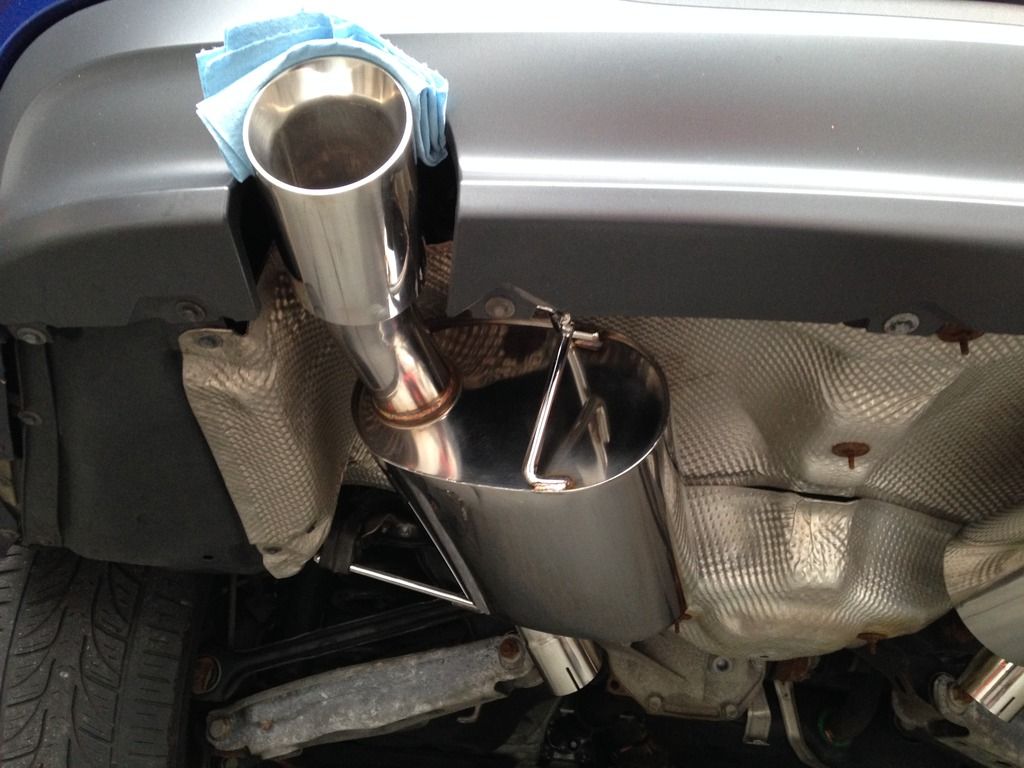 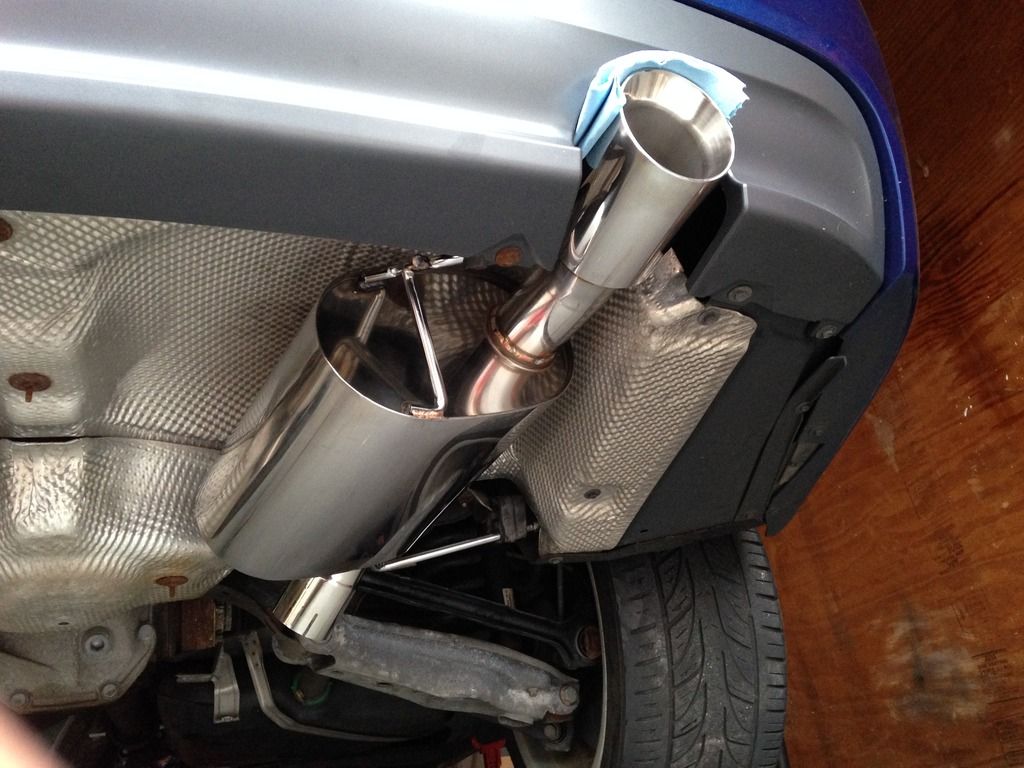  Y-pipe with the NOx sensor. Gloves on the garage floor to protect those pipe ends! 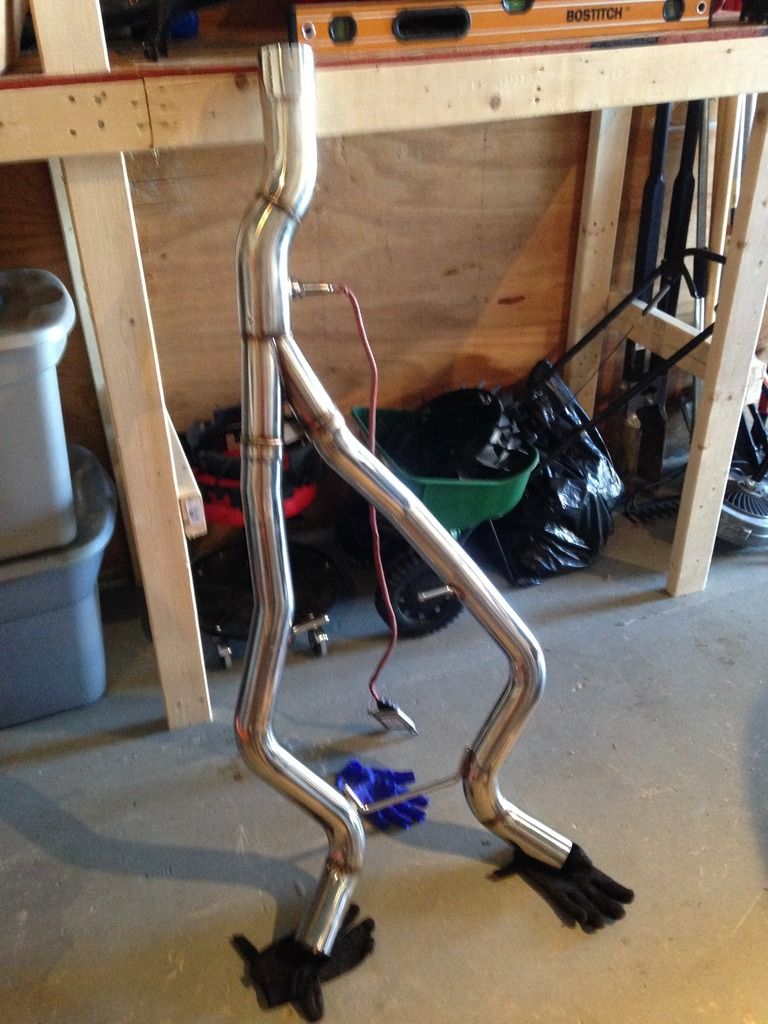 Clamps loose while installing the center sections 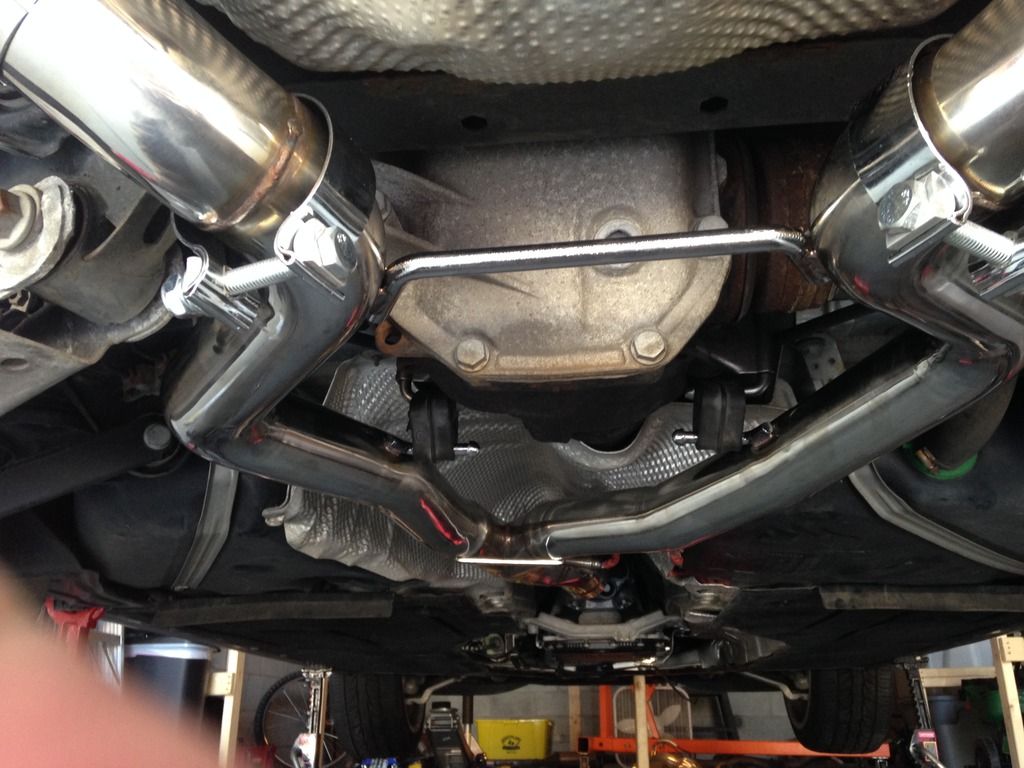 Ready for the center section 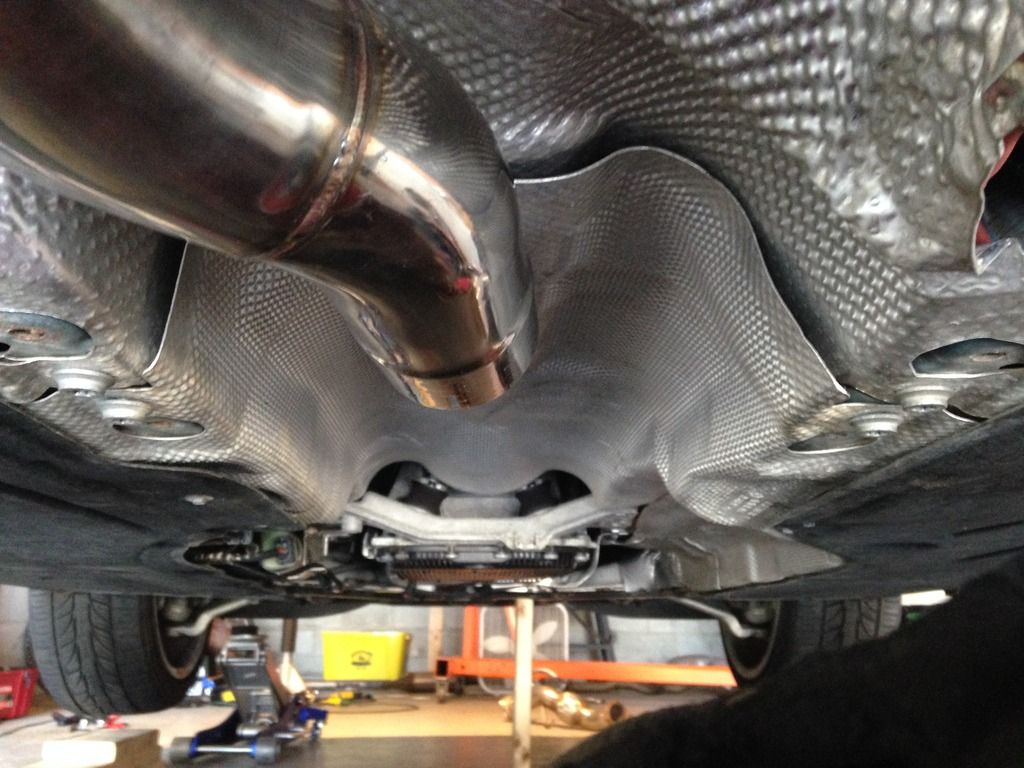 Muffler shot with the Y-pipe secured 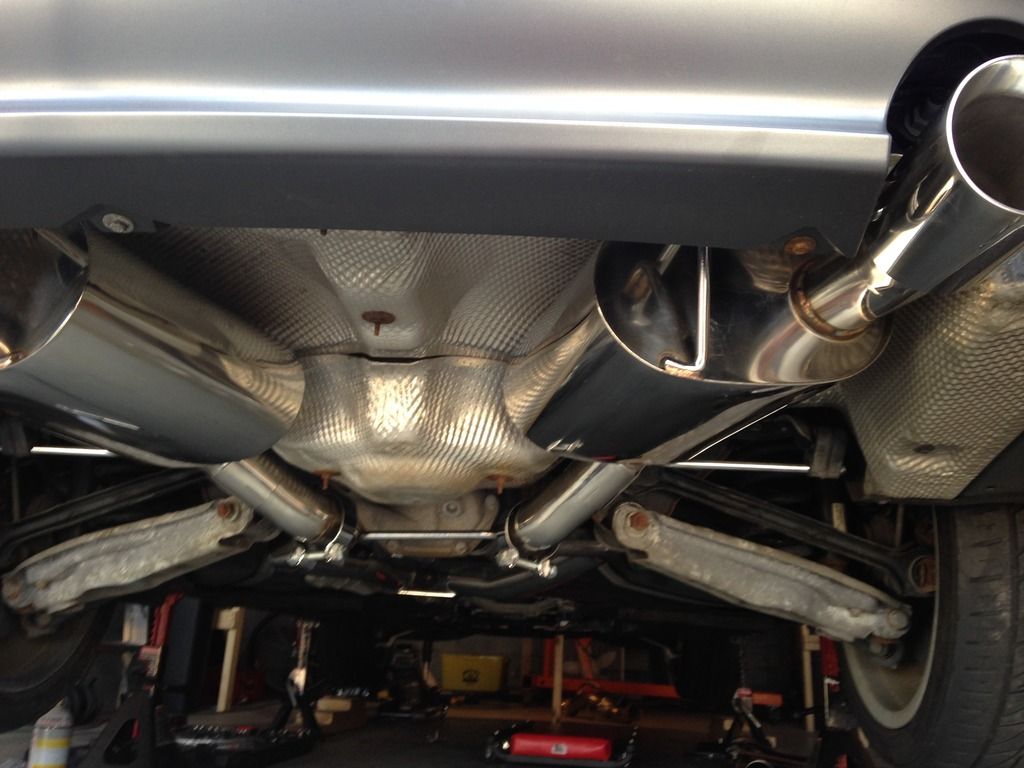 Now for the SOUND! Starting the car gives a nice deep rumble that makes you happy you now have an exhaust system on your otherwise quiet ecoBEAST. There is an awesome turbo whistle sound present during lower RPM cruising (parking lot speed). With the windows up, you can hardly hear anything under normal driving conditions. With the windows down you get a low volume deep rumble with turbo whistle, still normal driving conditions. Highway speeds are awesome for cruising and you can’t even tell you have an exhaust. It is very subtle. When you get on it, the exhaust has a very nice deep roar that is a refined sound you would expect with a BMW inline 6 and has ZERO drone. Video Clips First startup after exhaust install and BPC 2+ tune!!! Short but sweet! Little puff of smoke. More Details So I purchased my downpipe almost exactly a year ago from now and it has been sitting in my living room / bedroom since then while I was waiting to fund my tune and exhaust work. I didn't want to cut into the factory exhaust so that I could have the ability go to back to stock if I ever needed to. Now, I'm thinking it will never go back to stock  because it is too badass. because it is too badass.I had the option last year to go with a custom system, but I really wanted to wait for the production unit. I'm sure Dave was probably tired of hearing from me on a monthly basis asking when the exhaust would be available  . I am really happy I waited because this system is really well built. . I am really happy I waited because this system is really well built. It uses all factory hanger locations allowing a fast and easy installation without any significant modification. The mufflers themselves mount close to the heat shield, on the perimeter of the muffler section on the tip side. To remedy this I just used a rubber mallet and pushed the shield enough for clearance. You can use whatever you want if you have that interference but I just happened to have a mallet around (which I didn't have to swing, just push). Other than this, the exhaust is a perfect fit. Since I have an older built Bohl DP, the supplied hardware in the kit would not work for me due to my smaller diameter thru holes in the downpipe flange. I had 2 choices which were get some M8 hardware from local hardware store or drill out the Bohl downpipe flange. I went with the faster route of buying hardware. If you buy the downpipe supplied with this exhaust, you should not have that issue. If you have a newer Bohl DP, you should not have that issue. Overall its a great kit and I would recommend it to anyone who is looking for a full exhaust system for their D. The price is affordable, the material (201SS) looks beautiful and welds are fantastic. The sound is beautiful and matched with a BPC 2+ tune makes this car a real performer. Any questions just send them my way or PM Dave (iaknown).
__________________
 Last edited by GaryE30; 08-10-2016 at 12:29 PM.. |
|
Appreciate
6
|
| 08-09-2016, 07:39 AM | #2 |
|
Colonel
 614
Rep 2,410
Posts |
My boy loves riding in the racecar and so does Bohls DP...
The picture that goes with this comment made me laugh. Nice review!
__________________
2011 335d 11.68 @ 125.71 mph 1/4 mile NHRA certified track
Ram Cummins with lots-o-mods |
|
Appreciate
0
|
| 08-09-2016, 05:35 PM | #6 |
|
Colonel
213
Rep 2,210
Posts |
whats the point of keeping the nox sensor? Am I missing something that weve learned in another thread?
I like the trans mount location, thats a nice item at least one lower end exhaust is missing. |
|
Appreciate
0
|
| 08-09-2016, 05:50 PM | #7 | |
|
Brigadier General
 765
Rep 3,558
Posts |
Quote:
|
|
|
Appreciate
0
|
| 08-09-2016, 09:50 PM | #9 | ||
|
Banned
427
Rep 1,040
Posts |
Quote:
Only install advice that some are unclear on is the lower OEM bracket that goes under the exhaust about midway back does not get used. It's only stamped metal and this is common on a lot of the gas exhausts as well. Besides that some had to push the heatshields up a little behind the mufflers to make a little extra clearance as Gary stated. Other than that, it's plug and play! Quote:
 It's the proper NOX bung so the sensor can stay on the car and just be transferred. Or plugged if you insist on removing it..... It's the proper NOX bung so the sensor can stay on the car and just be transferred. Or plugged if you insist on removing it..... |
||
|
Appreciate
0
|
| 08-09-2016, 09:52 PM | #10 | |
|
Banned
427
Rep 1,040
Posts |
Quote:
|
|
|
Appreciate
0
|
| 08-10-2016, 12:10 PM | #11 | |||||
|
COAL FED
74
Rep 300
Posts |
Quote:
Install advice: Remove original exhaust - easy just unbolt it and remove from hangers. It's one piece so its awkward and heavy to do on your back. I disconnected the front first and supported it on a creeper with some boxes on top to keep it close to the body. Then I disconnected the rear section and lowered it on a jack and pulled it all out from the back. Disconnect charge pipe to intercooler - this is so you don't rip anything out when you go to lift the engine Unbolt airbox from chassis (2 bolts) - same as above, you don't want to rip it out when lifting up the engine Remove top nut from engine mount that secures it to damper Jack up the engine 3/4-1" and support under the A/C bracket - I used a piece of wood Remove engine mount and damper The engine mount has 4 bolts in it holding to the block, 1 goes through the casting hole in the side. You more than likely will take many attempts to find the bolt head while putting your socket through there. To get the damper out, unbolt the 2 torx bolts from the bottom and then I went to the passenger fender well and unbolted the fender liner slightly so i could get better access to the bracket on the side of the damper to remove it. This made life very easy. Once both of these are out, your DPF will have no issues clearing anything to get out of the car. I found this out by leaving the damper in at first which didnt allow enough clearance, but once the damper was removed, it had plenty of room. Reverse the process for reinstallation When doing the new exhaust system install, its easiest to start from the back and work your way forward. With the whole new exhaust in, you can still easily put the down pipe into place. I ended up putting the downpipe in place first without the new exhaust in just to get the v-band clamp on (not tightened fully) and all sensors plugged in. Then routed the exhaust and tightened v-band once I had the hardware aligned in the exhaust. Should have no real problems here. Ill be putting together a build thread documenting everything, but this was a quick summary of some notes I remembered from the work. Quote:
Quote:
Quote:
Quote:
__________________
|
|||||
| 08-10-2016, 12:57 PM | #12 |
|
Brigadier General
765
Rep 3,558
Posts |
Does this NOx bung have a lip in the bottom of it?
If not, a clean solution to seal it is a simple M20x1.5 bolt. I got mine at Auto zone in the help section. If there is a lip, the bolt will need to likely be shortened. I also used a copper washer to seal it. |
|
Appreciate
0
|
| 08-15-2016, 07:40 PM | #16 |
|
Private
 1
Rep 66
Posts |
I installed mine also and love it, great construction and sounds good, love how the SCR being gone lets the turbo whistle out, I did however squeeze the crossmember back on and it was very tight, I have some vibrations on it between 1300-2000rpm so I am thinking about removing it.. Just an fyi incase anyone else thought about keeping it on
|
|
Appreciate
0
|
| 08-15-2016, 10:03 PM | #17 | ||
|
Banned
427
Rep 1,040
Posts |
Quote:
Quote:
|
||
|
Appreciate
1
BB_cuda765.00 |
| 08-16-2016, 07:58 AM | #18 |
|
Private
1
Rep 66
Posts |
Okay let me know about the bracket if you could, wondering if I could add sometype padding with a heat resistance covering over it to minimize the vibrations
|
|
Appreciate
0
|
| 08-16-2016, 12:52 PM | #19 | |
|
Brigadier General
765
Rep 3,558
Posts |
Quote:
Those not wanting to use a proper NOx sensor, you will need to cut down an M20x1.5 bolt. I installed same size nut and screwed it on all the way to the head. I then used a grinder (with cooling in cup of water) to slowly eat up enough length. I then used the nut to clean up the threads. Don't try to thread nut on after the grinding as you won't get it started. This is poor man's way of shortening. If I had access to a lathe, this would be preferred method but still with nut threaded on prior. |
|
|
Appreciate
0
|
| 08-16-2016, 12:57 PM | #20 | |
|
Banned
427
Rep 1,040
Posts |
Quote:
|
|
|
Appreciate
0
|
| 08-16-2016, 01:12 PM | #21 |
|
COAL FED
74
Rep 300
Posts |
Or chop even more of the bolt off and use the top of the bung to seal against using a crush washer on the bolt. I think many people would have a difficult time cutting a bolt down perfectly perpendicular to it to allow a full seal against the lip inside.
Many options available! Simplest is to just use the NOx sensor though.
__________________
|
|
Appreciate
0
|
| 08-16-2016, 01:22 PM | #22 |
|
Colonel
213
Rep 2,210
Posts |
So do the instructions recommend taking the cross member off? You really have to push a 3" pipe to one side or the other of the tunnel there for it to fit and even if you get it just right its very tight.
|
|
Appreciate
0
|
 |
| Bookmarks |
|
|


